Photo credit: gurkoao/ iStock / Getty Images Plus via Getty Images
Advanced PPE Techniques and Protection
By Barry Rice
The Muddy Handprint Story
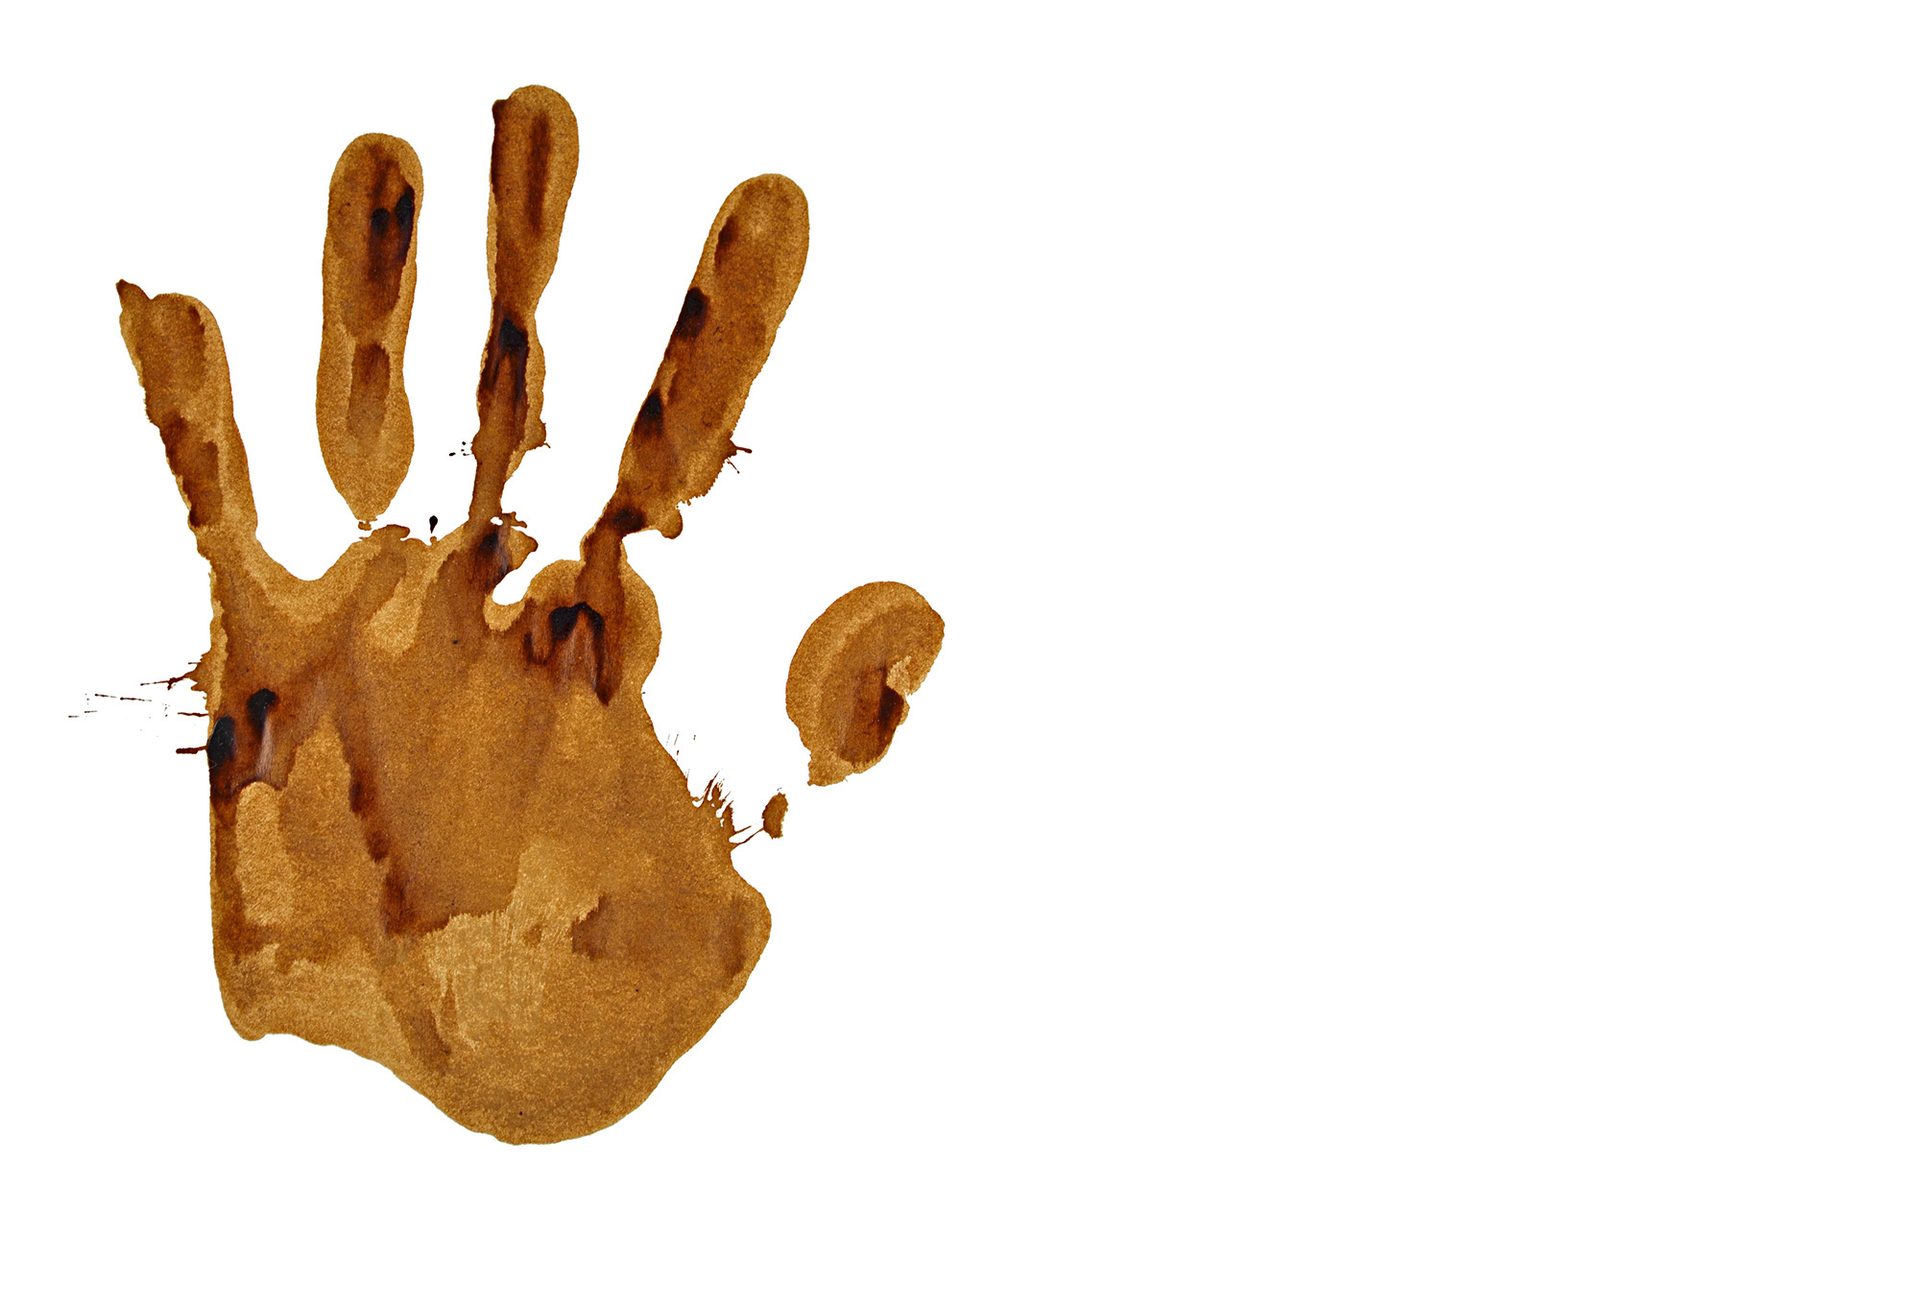
I remember driving home from work one day and pulling up to a light with a white van in front of me. While day dreaming, I noticed it was a plumber’s van — more specifically a specialist in sewers, sewage backups, etc. Then I noticed — and this image will never leave me — muddy brown handprints all around the white handle for the rear door. I laughed out loud and said to myself “That’s disgusting!”
But my mind couldn’t just leave it alone. I began wondering — are there muddy handprints on the inside? What about the steering wheel? What about when the plumber gets home and walks in the door? The level of grossness went on and on…
How Does this Relate to Restoration?
In our line of work, we encounter mold spores, biohazards, sewage and sometimes just filthy conditions. And let’s not forget about COIVD-19! We want to remediate/clean these materials and conditions while getting as little on our PPE as possible. However, it is inevitable that our PPE is contaminated at the end of many jobs. Our challenge is that at the end of the day we want to leave these jobs without any of those materials on us or transferred to our truck, office or home.
How Do We Prevent This Transfer?
There are a number of techniques — I call them advanced techniques even though they are really pretty simple. In this article, I will review techniques and practices to help minimize the unwanted transfer of materials from jobsites.
The Right PPE for the Job
Restorers have many choices of suits, gloves, boots and respirators. All restorers should spend time understanding the choices and the different levels of protection offered. For instance, body suits (e.g. Tyvek) offer many different choices, such as:
- Protection ranging from basic dust/dirt to impermeable by liquids and aggressive chemicals
- Breathability, which directly relates to the level of protection
- Options for coverage, such as built-in hoods and booties
Cost ranges, which also directly related to the level of protection
Suit manufacturers can assist with the proper selection, are continuously improving breathability and offer guides to help with your selection.
Gloves offer a similar range of protection. Glove manufacturers can assist with selection and offer guides to help tailor your selection. (See my March 2022 article on hand protection for additional information and options.)
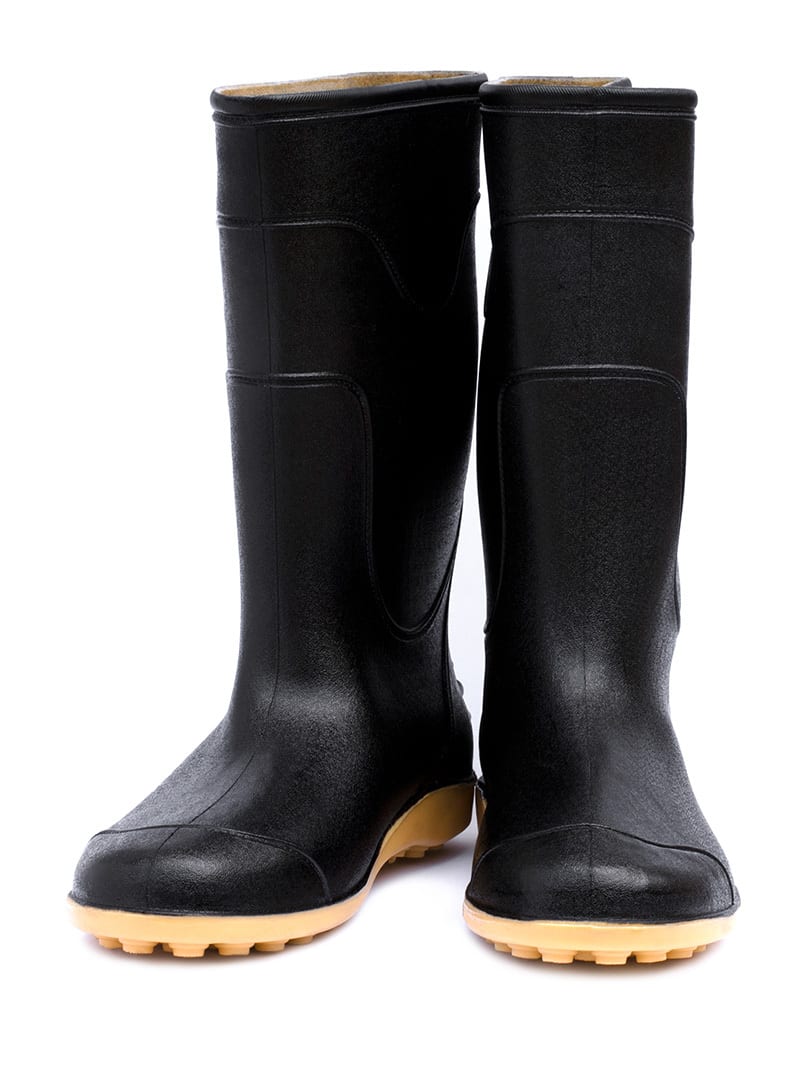
Boots offer some choices, however the classic rubber or PVC boot has long been the standard. Additionally, these boots can be decontaminated when leaving the jobsite by most of the common disinfectants. (See my January 2022 on safety boots for additional information and options.)

Finally, respirators offer a wide range of choices. Restorer’s owe it to themselves and their employees to contact respirator manufacturers to understand the wide range of protection and comfort. (See my April and May 2022 articles on respiratory protection for additional information and options.)
Sealing It All
Restoration technicians face hazards from mold, lead dust, silica dust, sewage and biohazards getting onto their skin or clothes through the seams or gaps between PPE. One specific technique restorers should be familiar with is taping the gap where their suit meets their respirator, gloves and boots. I first became familiar with this practice in an OSHA HAZWOPER course.
This technique demonstrated in videos — see below or visit the link for the Donning and Doffing video in the resources section. The U.S. Environmental Protection Agency (EPA) also mentions this practice in Lesson 4 of its Mold Course, which is also below and linked to in the resources section.
Photo credit: Everyday better to do everything you love/ iStock / Getty Images Plus via Getty Images
Decontamination
This technique is used by hazardous waste technicians after contact with hazardous materials. Quite simply, their PPE is cleaned (decontaminated) before removing it. This technique provides two benefits:
- Removal of materials/liquids that might be contacted when taking off PPE
- Allows reuse of some PPE, such as boot and respirators
Fortunately in the restoration industry, we usually have disinfectants easily available. Check to see if what you have on-hand is effective for the hazards at your jobsite. One example of this is to spray your boots with disinfectant and scrub or wipe them off prior to walking to your truck and storing them. You can also do this with respirators. This allows the reuse of expensive PPE and clean storage. Just remember that not all PPE is reusable (e.g. gloves and suits).
Proper Donning and Doffing
The medical and environmental fields have always coached techniques to properly put on (donning) and take off (doffing) PPE. We already covered one technique for the donning part — taping gaps/seams. For removal/doffing, the idea is to remove PPE that is contaminated without getting those materials on your skin or the clothes. I believe these techniques came to the attention of many restorers with cleaning and disinfection jobs for COVID-19.
The Centers for Disease Control (CDC) has an excellent guide on the sequence of donning and doffing. There are also videos available from various sources that show the sequence. See the resources section at the end of this article.
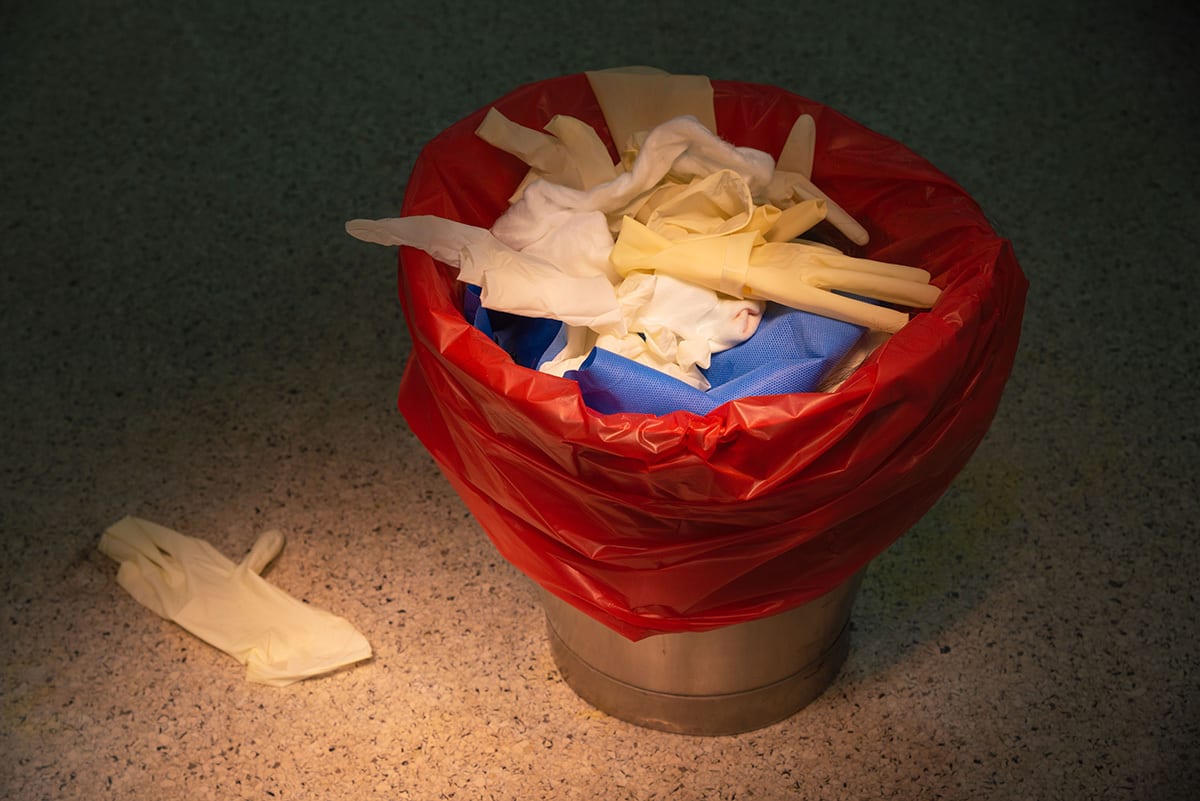
Finally, don’t forget to put contaminated PPE in a garbage bag and properly dispose of it. Don’t throw contaminated PPE directly into a garbage can or dumpster.

Photo credit: Getty Images
Hygiene
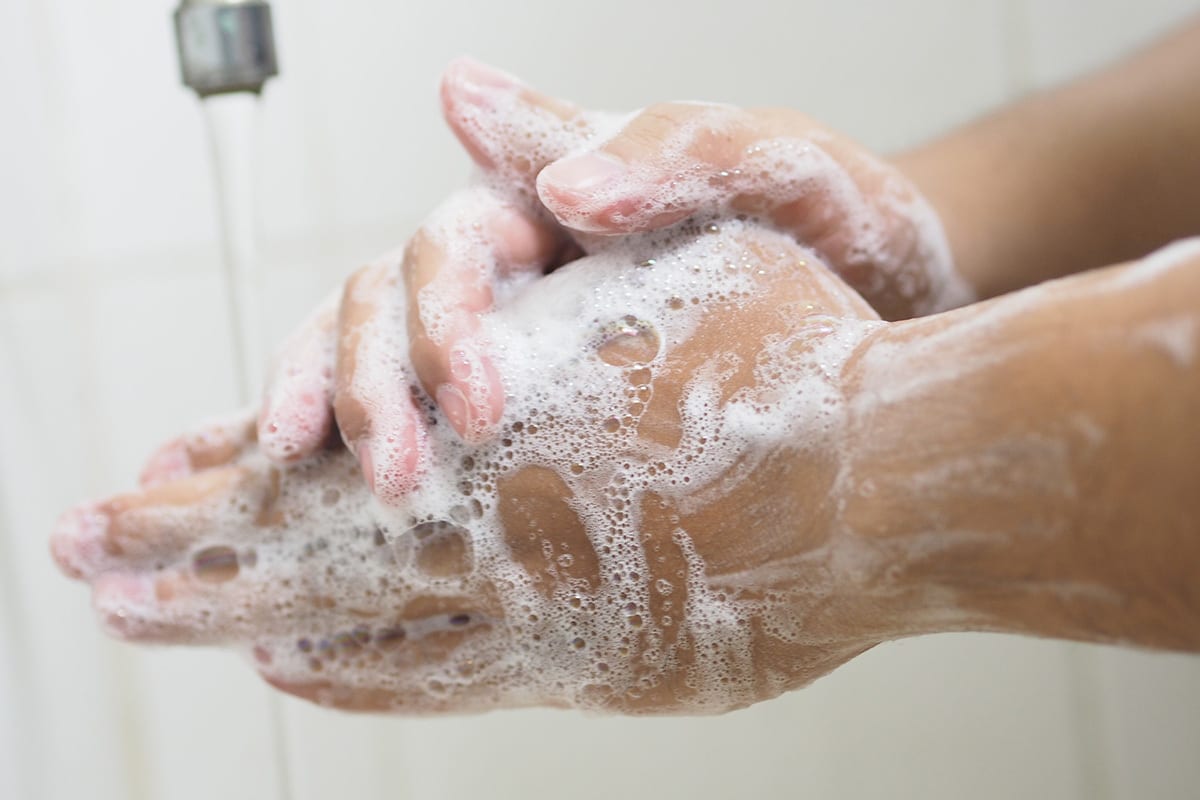
There is no substitute for good hygiene. Technicians should be reminded that this applies anytime they leave a work area wearing PPE (e.g., breaks and lunch) and not just at the end of the day. Washing hands is a minimum. A bottle of hand sanitizer is a great solution when access to a sink with soap and water is not available. Any other skin that has come into contact with hazardous materials should be washed, as well. Clothing that has been contacted should be evaluated based on the hazards of the materials; some may be able to be washed, while others may need discarded.

Photo credit: Sucharas wongpeth/ iStock / Getty Images Plus Getty Images
Train and Document
Finally, educate technicians about the risks and implications of contact with hazardous materials and bringing them back to the office or to their home. Have them practice donning and doffing PPE. Many instructors put harmless materials (e.g., ketchup or jelly) on technicians’ suits or gloves and then challenge them to remove the PPE without getting anything on them. It can become a game and a challenge, which makes the learning part fun and memorable.
Beyond the training environment, also document these techniques in Standard Operating Procedures (SOPs) and jobsite Job Hazard Analyses (JHAs). The SOPs will help assure proper fundamentals and techniques in the future. The JHA should have content mentioning the material contact hazards and the use of the techniques in this article. Review the JHA with jobsite technicians to assure understanding of the hazards and techniques.
Summary
Restorers will always have the risk of the “Muddy Handprint” that cross contaminates other surfaces and materials because of the hazardous materials we encounter. Fundamentally sound professional techniques separate us from the amateurs and keep us safe. The techniques I have mentioned in this article will minimize risk at our jobsites and prevent us from bringing hazardous materials home with us.
Barry Rice is a Certified Safety Professional (CSP) with over 20 years of experience. He is the Environmental, Health and Safety (EHS) director for Signal Restoration Services’ family of companies that includes Signal, US Roofing and PuroClean. Rice has supported EHS efforts in various industries, including environmental restoration, heavy industrial manufacturing, mechanical field service, automotive and aircraft manufacturing support, residential and commercial construction, and disaster restoration. If you have questions or would like to speak to Rice, he can be reached at (248) 878-5662 or barrynrice@gmail.com.

Resources:
EPA Mold Course, Chapter 6, Containment and Personal Protective Equipment (PPE), Lesson 4, Disposable Clothing (last paragraph of lesson): https://www.epa.gov/mold/mold-course-chapter-6
CDC Sequence for Putting On and Removing PPE: https://www.cdc.gov/hai/pdfs/ppe/ppe-sequence.pdf
OSHA Technical Manual (OTM), Chapter 1, Chemical Protective Clothing, Section VI Clothing Donning, Doffing, and Use: https://www.osha.gov/otm/section-8-ppe/chapter-1#cddu
OSHA Technical Manual (OTM), Chapter 1, Chemical Protective Clothing, Section VII Decontamination Procedures: https://www.osha.gov/otm/section-8-ppe/chapter-1#deconproc
Donning and Doffing Tyvek Suit Video: Donning and Doffing Tychem 4000 S - YouTube
Donning and Doffing Disposable Gloves Video: The Globus Guide to Putting-on and Removing Non-Sterile Disposable Gloves - YouTube

